Accessing your Raspberry Pi behind a firewall using Windows 10 is a powerful way to remotely manage your device, even when it's on a private network. Whether you're a beginner or an advanced user, this guide will walk you through the process step-by-step, ensuring you can connect seamlessly without compromising security.
With the increasing popularity of Raspberry Pi for home automation, IoT projects, and server management, understanding how to access it remotely is crucial. However, navigating firewalls and network restrictions can be challenging for many users. This article provides detailed instructions and practical tips to help you overcome these challenges.
By the end of this guide, you'll have the knowledge and tools necessary to access your Raspberry Pi from any location using Windows 10, ensuring smooth connectivity while maintaining robust security measures. Let's dive in!
Read also:Discover The Legacy Of Pat Travers Band A Journey Through Rock History
Table of Contents
- Introduction to Raspberry Pi and Firewalls
- Setting Up Your Raspberry Pi on a Network
- Understanding Firewalls and Their Role
- Configuring Port Forwarding
- Using a VPN to Access Raspberry Pi
- Accessing Raspberry Pi via SSH
- Enabling Remote Desktop Access
- Implementing Security Measures
- Troubleshooting Common Issues
- Conclusion and Next Steps
Introduction to Raspberry Pi and Firewalls
Raspberry Pi is a versatile, low-cost device widely used for various applications, from home servers to complex IoT projects. However, accessing it remotely when it's behind a firewall can be tricky. A firewall acts as a protective barrier between your local network and the internet, preventing unauthorized access to your devices.
Understanding how to configure your network settings and firewall rules is essential for remote access. This section will provide an overview of the basics and set the stage for more advanced configurations.
Key takeaway: Firewalls are crucial for security, but they can also block necessary access if not properly configured.
Setting Up Your Raspberry Pi on a Network
Before diving into firewall configurations, ensure your Raspberry Pi is correctly set up on your local network. Here's how you can do it:
Steps to Set Up Raspberry Pi
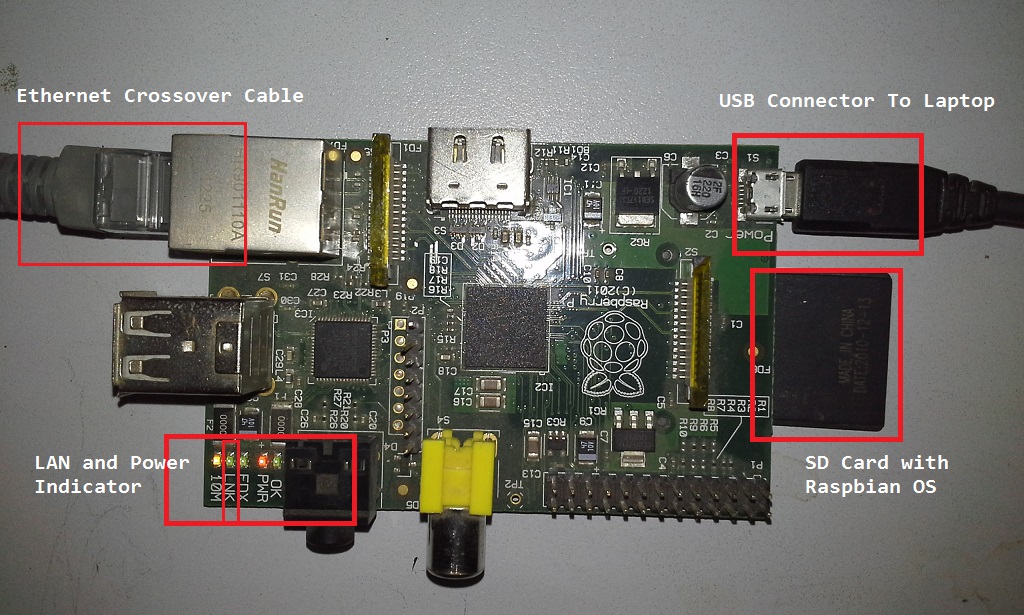
- Connect your Raspberry Pi to your router using an Ethernet cable or Wi-Fi.
- Assign a static IP address to your Raspberry Pi to ensure it remains consistent.
- Install the necessary software, such as Raspbian OS, and update it regularly.
Tip: Use tools like Advanced IP Scanner to locate your Raspberry Pi's IP address on the network.
Understanding Firewalls and Their Role
A firewall is a security system that monitors and controls incoming and outgoing network traffic based on predetermined security rules. It plays a vital role in protecting your devices from unauthorized access.
Read also:2 Milk Vs Soy Milk Which One Is Better For Your Health
Types of Firewalls
- Software Firewall: Installed on individual devices, such as Windows Firewall.
- Hardware Firewall: Integrated into routers and network devices.
Both types work together to create a secure environment for your Raspberry Pi. Understanding their roles will help you configure them effectively.
Configuring Port Forwarding
Port forwarding is a technique that allows you to direct external traffic to a specific device on your local network. This is essential for accessing your Raspberry Pi remotely.
Steps to Configure Port Forwarding
- Log in to your router's admin interface (usually at 192.168.0.1 or 192.168.1.1).
- Navigate to the port forwarding section.
- Set up a rule to forward traffic from an external port to your Raspberry Pi's internal IP address.
- Save the settings and restart your router if necessary.
Example: Forward port 22 (default SSH port) to your Raspberry Pi's IP address (e.g., 192.168.1.100).
Using a VPN to Access Raspberry Pi
A Virtual Private Network (VPN) provides a secure tunnel for accessing your Raspberry Pi remotely. It encrypts your data and ensures privacy, making it an excellent choice for sensitive applications.
Benefits of Using a VPN
- Enhanced security through encryption.
- Easy access from any location with an internet connection.
- Reduced risk of exposing your local network to the internet.
Popular VPN solutions like OpenVPN or WireGuard can be configured on your Raspberry Pi for seamless access.
Accessing Raspberry Pi via SSH
Secure Shell (SSH) is a protocol that allows you to securely connect to your Raspberry Pi from a remote location. It's one of the most reliable methods for remote access.
Steps to Access Raspberry Pi via SSH
- Enable SSH on your Raspberry Pi by running
sudo raspi-configand selecting the SSH option. - Install an SSH client on your Windows 10 machine, such as PuTTY or Windows Terminal.
- Connect to your Raspberry Pi using its IP address and SSH credentials.
Security Tip: Use strong passwords and consider enabling two-factor authentication for added security.
Enabling Remote Desktop Access
Remote Desktop Protocol (RDP) allows you to access your Raspberry Pi's graphical interface from Windows 10. This is particularly useful for applications that require a GUI.
Steps to Enable Remote Desktop
- Install a remote desktop server on your Raspberry Pi, such as xrdp.
- Configure your Windows 10 machine to connect to the Raspberry Pi using its IP address.
- Test the connection to ensure everything works as expected.
Performance Tip: Optimize your Raspberry Pi's settings for smoother remote desktop performance.
Implementing Security Measures
Security should always be a top priority when accessing your Raspberry Pi remotely. Here are some best practices to follow:
Best Practices for Security
- Use strong, unique passwords for all accounts.
- Regularly update your Raspberry Pi's software and firmware.
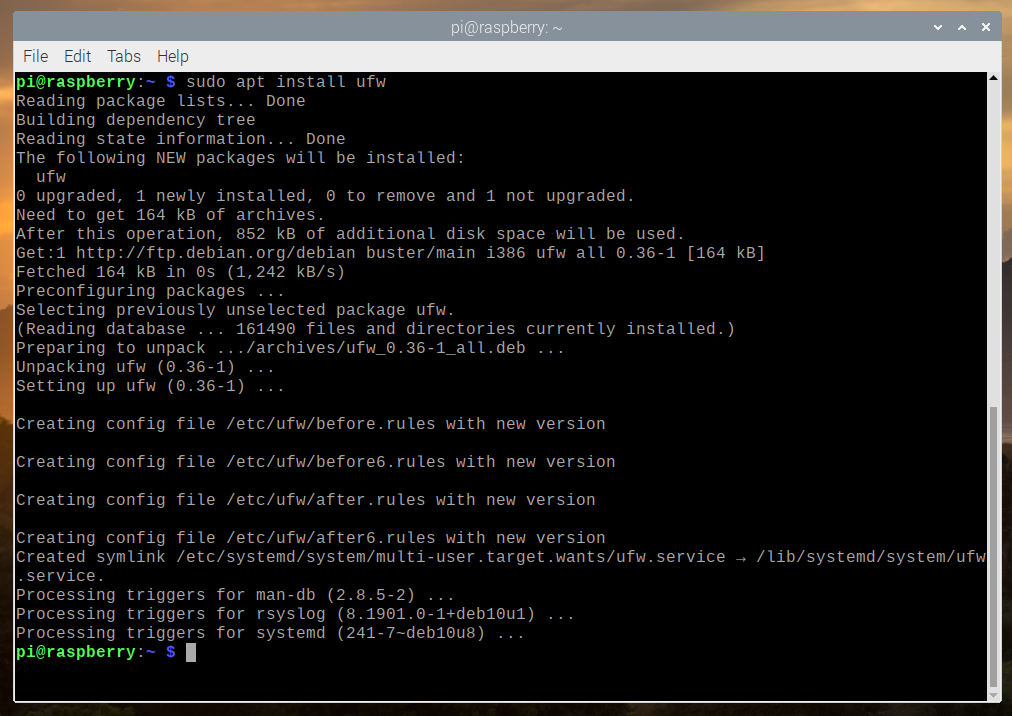
- Enable firewalls and configure them to allow only necessary traffic.
- Monitor access logs for suspicious activity.
By following these practices, you can significantly reduce the risk of unauthorized access.
Troubleshooting Common Issues
Even with careful configuration, issues can arise when accessing your Raspberry Pi behind a firewall. Here are some common problems and their solutions:
Common Issues and Solutions
- Problem: Unable to connect via SSH.
- Solution: Verify that SSH is enabled and the correct port is forwarded.
- Problem: Slow connection speeds.
- Solution: Optimize network settings and ensure a stable internet connection.
If issues persist, consult your router's documentation or seek help from online forums.
Conclusion and Next Steps
Accessing your Raspberry Pi behind a firewall on Windows 10 is a valuable skill for anyone working with IoT or remote management. By following the steps outlined in this guide, you can ensure smooth connectivity while maintaining robust security measures.
Key Takeaways:
- Configure port forwarding and use SSH or RDP for remote access.
- Implement security measures to protect your Raspberry Pi from unauthorized access.
- Monitor and troubleshoot regularly to maintain optimal performance.
We encourage you to leave a comment below sharing your experiences or asking questions. Additionally, explore other articles on our site for more tips and tricks on Raspberry Pi and networking.