Accessing Raspberry Pi SSH remotely is a powerful way to control your device from anywhere in the world. Whether you're a developer, hobbyist, or tech enthusiast, understanding how to set up remote SSH access can significantly enhance your productivity and flexibility. This guide will walk you through every step, ensuring your setup is secure and efficient.
SSH (Secure Shell) is a protocol that allows you to securely connect to and manage remote devices over a network. For Raspberry Pi users, SSH offers an easy way to execute commands, transfer files, and manage configurations without needing physical access to the device. However, accessing Raspberry Pi SSH remotely requires careful setup to ensure security and functionality.
In this article, we'll explore how to configure your Raspberry Pi for remote SSH access, discuss security best practices, and troubleshoot common issues. By the end, you'll have the knowledge and tools to remotely control your Raspberry Pi with confidence.
Read also:Tom Bergeron The Timeless Host Of Television Excellence
Table of Contents
- Introduction to SSH
- Enabling SSH on Raspberry Pi
- Finding Raspberry Pi IP Address
- Using SSH to Access Raspberry Pi
- Configuring Port Forwarding
- Securing Your SSH Connection
- Using Dynamic DNS for Remote Access
- Troubleshooting Common Issues
- Advanced Techniques for Remote Access
- Conclusion and Next Steps
Introduction to SSH
SSH (Secure Shell) is a cryptographic network protocol designed to provide secure communication over an unsecured network. It is widely used for remote command-line login and command execution, enabling users to manage and interact with remote devices securely.
For Raspberry Pi users, SSH offers a convenient way to access their device's terminal interface without requiring a monitor or keyboard. By enabling SSH on your Raspberry Pi, you can execute commands, manage files, and configure settings from any device with SSH client software.
Why Use SSH for Raspberry Pi?
SSH provides several advantages for Raspberry Pi users:
- Secure Communication: SSH encrypts all data transmitted between your device and the Raspberry Pi, ensuring that sensitive information remains protected.
- Remote Access: With SSH, you can control your Raspberry Pi from anywhere in the world, provided you have an internet connection.
- Efficiency: SSH eliminates the need for physical access to the Raspberry Pi, saving time and effort.
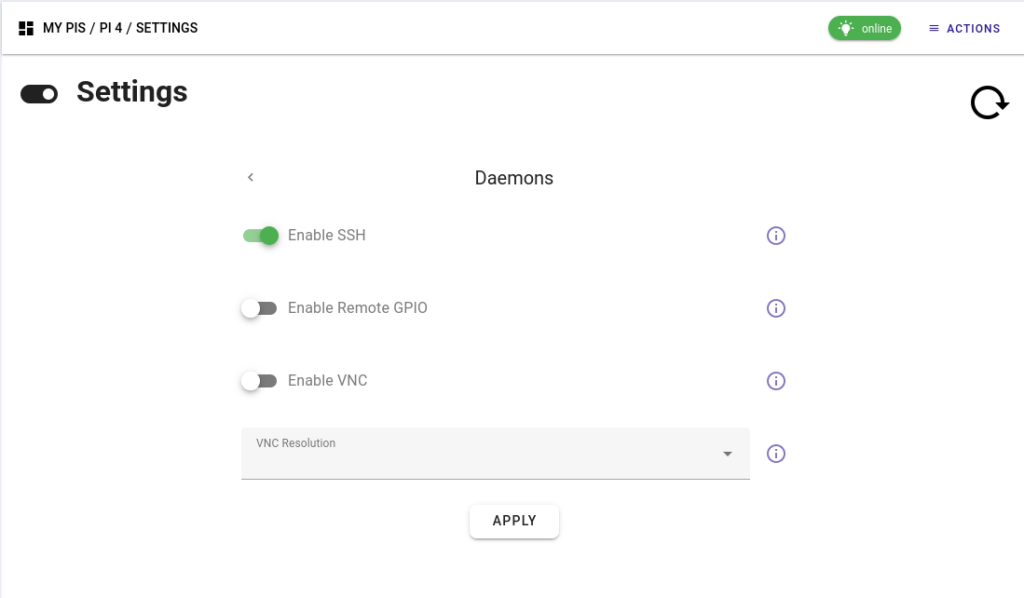
Enabling SSH on Raspberry Pi
Before you can access Raspberry Pi SSH remotely, you need to enable the SSH service on your device. Fortunately, this process is straightforward and can be done in several ways.
Method 1: Using Raspberry Pi Configuration Tool
The Raspberry Pi Configuration tool provides a user-friendly interface for enabling SSH. Here's how to use it:
- Open the Raspberry Pi Configuration tool by typing
sudo raspi-configin the terminal. - Select
Interfacing Optionsfrom the menu. - Choose
SSHand enable it. - Exit the tool and reboot your Raspberry Pi for the changes to take effect.
Method 2: Using the Command Line
If you prefer using the command line, you can enable SSH by running the following command:
Read also:Ryan Franolich The Rising Star In The World Of Music
sudo systemctl enable ssh
This command ensures that SSH starts automatically when your Raspberry Pi boots up.
Finding Raspberry Pi IP Address
To access Raspberry Pi SSH remotely, you need to know its IP address. The IP address serves as the unique identifier for your Raspberry Pi on the network.
Using the Terminal
You can find your Raspberry Pi's IP address by running the following command in the terminal:
hostname -I
This command will display the IP address assigned to your Raspberry Pi by your router.
Using the GUI
If you're using the Raspberry Pi desktop environment, you can find the IP address by clicking on the network icon in the top-right corner of the screen. The IP address will be displayed under the network details.
Using SSH to Access Raspberry Pi
Once SSH is enabled and you know your Raspberry Pi's IP address, you can connect to it using an SSH client. On most operating systems, you can use the built-in terminal or download third-party SSH clients like PuTTY.
Connecting from Linux or macOS
To connect to your Raspberry Pi from a Linux or macOS machine, open the terminal and type the following command:
ssh pi@
Replace pi user.
Connecting from Windows
Windows users can use the built-in SSH client by opening PowerShell or Command Prompt and running the same command as above. Alternatively, you can use third-party clients like PuTTY for a more user-friendly interface.
Configuring Port Forwarding
To access Raspberry Pi SSH remotely over the internet, you need to configure port forwarding on your router. Port forwarding directs incoming traffic on a specific port to your Raspberry Pi's local IP address.
Steps to Configure Port Forwarding
- Log in to your router's admin interface using its IP address.
- Locate the port forwarding settings, which are usually found under the "NAT" or "Port Forwarding" section.
- Create a new rule and set the external port to 22 (default SSH port).
- Set the internal IP address to your Raspberry Pi's local IP address.
- Save the settings and test the connection.
Securing Your SSH Connection
While SSH provides a secure connection by default, there are additional steps you can take to enhance security and protect your Raspberry Pi from unauthorized access.
Changing the Default SSH Port
Changing the default SSH port from 22 to a non-standard port can reduce the risk of automated attacks. To do this, edit the SSH configuration file:
sudo nano /etc/ssh/sshd_config
Change the Port setting to a new number (e.g., 2222) and restart the SSH service:
sudo systemctl restart ssh
Disabling Root Login
Disabling root login prevents attackers from gaining administrative access to your Raspberry Pi. To disable root login, edit the SSH configuration file and set PermitRootLogin to no.
Using Dynamic DNS for Remote Access
If your internet service provider assigns a dynamic IP address, you may encounter issues when trying to access Raspberry Pi SSH remotely. Dynamic DNS services can help by providing a consistent domain name that updates automatically when your IP address changes.
Popular Dynamic DNS Services
- No-IP
- DuckDNS
- DDNS
These services offer free and paid plans, depending on your needs. Once you sign up, you can configure your router or Raspberry Pi to update the DNS records automatically.
Troubleshooting Common Issues
Even with careful setup, you may encounter issues when trying to access Raspberry Pi SSH remotely. Here are some common problems and their solutions:
Connection Refused
If you receive a "Connection refused" error, ensure that:
- SSH is enabled on your Raspberry Pi.
- Port forwarding is correctly configured on your router.
- Your firewall or security software is not blocking the SSH port.
Timeout Errors
Timeout errors usually occur when your Raspberry Pi is unreachable over the network. Check your internet connection and ensure that your router is functioning properly.
Advanced Techniques for Remote Access
For advanced users, there are several techniques to enhance remote access to your Raspberry Pi:
Using SSH Tunnels
SSH tunnels allow you to securely forward traffic between your local machine and the Raspberry Pi. This is particularly useful for accessing services like web servers or databases.
Setting Up a VPN
A Virtual Private Network (VPN) provides an encrypted connection between your device and the Raspberry Pi, ensuring maximum security for your remote access.
Conclusion and Next Steps
Accessing Raspberry Pi SSH remotely is a valuable skill for anyone working with this versatile device. By following the steps outlined in this guide, you can set up secure and reliable remote access while minimizing risks.
Remember to:
- Enable SSH and configure port forwarding on your router.
- Secure your SSH connection by changing the default port and disabling root login.
- Consider using dynamic DNS or advanced techniques like SSH tunnels and VPNs for enhanced functionality.
We encourage you to share this article with others who might find it helpful and leave a comment below if you have any questions or feedback. Happy tinkering!