Using a Raspberry Pi as an SSH tunnel has become an increasingly popular method for enhancing online security and privacy. Whether you're a tech enthusiast or someone looking to protect your data, this guide will walk you through everything you need to know about setting up and using Raspberry Pi as an SSH tunnel. In today's digital world, where cybersecurity threats are rampant, having a secure connection is not just an option—it's a necessity.
Imagine being able to access your favorite websites without worrying about prying eyes or unauthorized access. With Raspberry Pi as your SSH tunnel, you can achieve just that. This affordable and versatile device can be configured to act as a secure gateway, ensuring your online activities remain private and protected.
This comprehensive guide will cover everything from the basics of SSH tunnels to advanced configurations. By the end of this article, you'll have the knowledge and tools necessary to set up your Raspberry Pi as an SSH tunnel, making your browsing experience safer and more secure.
Read also:How Does Aflac Accident Insurance Work A Comprehensive Guide
Table of Contents
- Introduction to Raspberry Pi as SSH Tunnel
- What is SSH and Why Use It?
- Raspberry Pi Overview
- Setting Up SSH on Raspberry Pi
- Configuring SSH Tunnel
- Benefits of Using Raspberry Pi as SSH Tunnel
- Security Considerations
- Troubleshooting Common Issues
- Alternative Uses for Raspberry Pi
- Conclusion and Call to Action
Introduction to Raspberry Pi as SSH Tunnel
Understanding SSH Tunneling
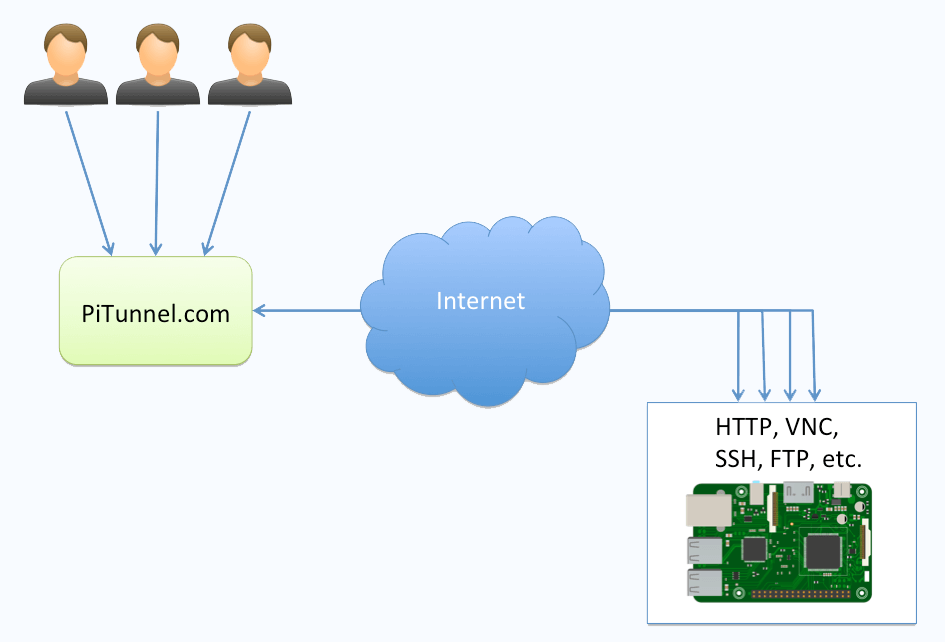
SSH (Secure Shell) tunneling is a method used to securely transmit data between two devices over an unsecured network. By using Raspberry Pi as an SSH tunnel, you can encrypt your internet traffic, making it difficult for anyone to intercept or monitor your online activities. This is particularly useful when connecting to public Wi-Fi networks or accessing sensitive information.
Raspberry Pi, a small and affordable computer, offers the perfect platform for setting up an SSH tunnel. Its low power consumption and compact size make it ideal for portable use, while its open-source nature allows for extensive customization and flexibility.
What is SSH and Why Use It?
SSH, or Secure Shell, is a cryptographic network protocol designed to provide secure communication over an unsecured network. It is widely used for remote server management, file transfers, and tunneling. By encrypting data transmissions, SSH ensures that sensitive information, such as passwords and personal data, remains protected from unauthorized access.
Using SSH tunneling with Raspberry Pi offers several advantages:
- Enhanced Security: Encrypts all data transmitted between your device and the Raspberry Pi.
- Privacy Protection: Masks your IP address, making it harder for others to track your online activities.
- Global Access: Allows you to access geo-restricted content by routing your traffic through a remote server.
Raspberry Pi Overview
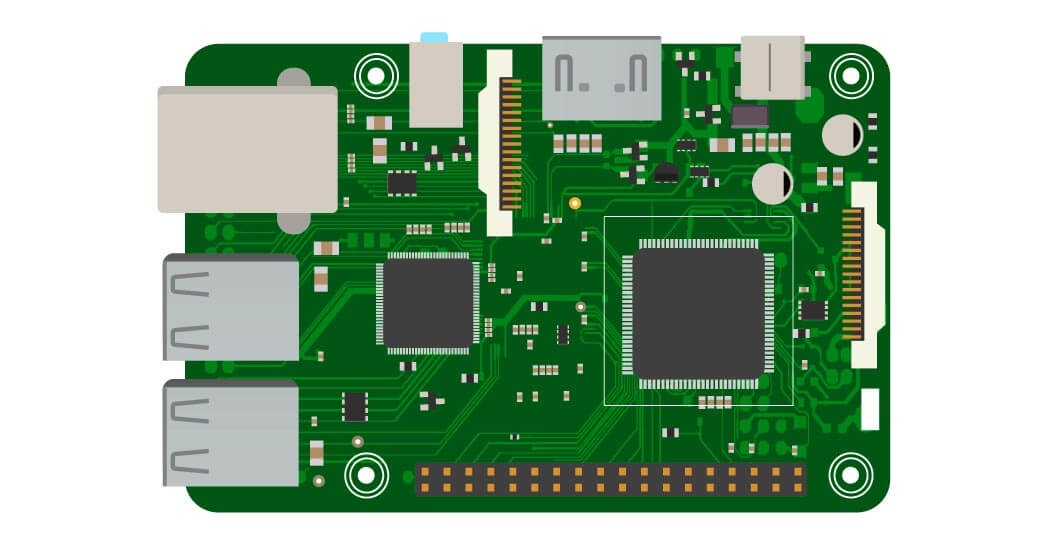
Raspberry Pi is a credit-card-sized computer that has gained immense popularity among hobbyists, educators, and professionals alike. Developed by the Raspberry Pi Foundation, this device is known for its affordability, versatility, and ease of use. It runs on various operating systems, including Raspbian, Ubuntu, and others, making it suitable for a wide range of applications.
Key Features of Raspberry Pi
- Compact Design: Small form factor, perfect for portable projects.
- Low Power Consumption: Ideal for long-term use without worrying about electricity costs.
- Open-Source Software: Supports a variety of free and open-source software solutions.
- Community Support: A vast community of users and developers providing resources and assistance.
Setting Up SSH on Raspberry Pi
Before configuring Raspberry Pi as an SSH tunnel, you need to ensure that SSH is enabled on the device. Follow these steps to set up SSH on your Raspberry Pi:
Read also:Black Male Stars Celebrating The Influence And Achievements Of Africanamerican Actors
- Install the latest version of Raspberry Pi OS on your device.
- Connect your Raspberry Pi to a monitor, keyboard, and mouse.
- Open the terminal and type
sudo raspi-config. - Select "Interfacing Options" and enable SSH.
- Reboot your Raspberry Pi to apply the changes.
Verifying SSH Installation
To verify that SSH is successfully installed and running on your Raspberry Pi, use the following command in the terminal:
sudo service ssh status
This will display the status of the SSH service, confirming whether it is active and running.
Configuring SSH Tunnel
Step-by-Step Guide
Once SSH is enabled on your Raspberry Pi, you can proceed to configure it as an SSH tunnel. Follow these steps:
- Obtain the IP address of your Raspberry Pi by typing
ifconfigin the terminal. - On your local machine, open the terminal or command prompt.
- Type the following command to establish an SSH tunnel:
ssh -D 1080 -C -N -p [port] [username]@[raspberry-pi-ip]
Replace [port], [username], and [raspberry-pi-ip] with the appropriate values for your setup.
Configuring Browser Settings
To use the SSH tunnel for browsing, configure your browser's proxy settings:
- Open your browser's settings and navigate to the network or proxy section.
- Select "SOCKS Proxy" and enter
localhostas the host and1080as the port. - Save the settings and restart your browser.
Benefits of Using Raspberry Pi as SSH Tunnel
Using Raspberry Pi as an SSH tunnel offers numerous benefits, including:
- Cost-Effective: Raspberry Pi is an affordable solution compared to commercial VPN services.
- Customizable: You have full control over the configuration and settings, allowing for personalized security measures.
- Portable: Its compact size makes it easy to carry and use in various locations.
- Open-Source: Access to a wide range of free software and tools for enhancing functionality.
Security Considerations
While using Raspberry Pi as an SSH tunnel provides significant security benefits, it's essential to be aware of potential vulnerabilities. Here are some security considerations:
- Strong Passwords: Use complex and unique passwords to prevent unauthorized access.
- Regular Updates: Keep your Raspberry Pi and its software up to date to protect against known vulnerabilities.
- Firewall Configuration: Configure a firewall to restrict access to only necessary ports and IP addresses.
Troubleshooting Common Issues
Here are some common issues you may encounter when setting up Raspberry Pi as an SSH tunnel and their solutions:
- SSH Not Connecting: Ensure that SSH is enabled and the correct IP address and port are used.
- Browser Not Working: Verify that the proxy settings are correctly configured in your browser.
- Slow Connection: Check your network speed and consider using a wired connection for improved performance.
Alternative Uses for Raspberry Pi
Beyond acting as an SSH tunnel, Raspberry Pi has numerous other applications. Here are a few examples:
- Home Automation: Control smart devices and automate tasks around your home.
- Media Center: Set up a personal media server for streaming movies and music.
- Programming Education: Teach programming concepts and develop coding skills.
Conclusion and Call to Action
In conclusion, using Raspberry Pi as an SSH tunnel is an effective way to enhance your online security and privacy. By following the steps outlined in this guide, you can set up and configure your Raspberry Pi to act as a secure gateway for your internet traffic. Remember to implement best practices for security and regularly update your system to protect against potential threats.
We encourage you to share your experience with Raspberry Pi as an SSH tunnel in the comments section below. Additionally, explore other articles on our website for more tips and tutorials on leveraging technology for improved security and productivity. Together, let's create a safer digital world!
References: