SSH Raspberry Pi remotely is an essential skill for anyone managing a Raspberry Pi without direct physical access. Whether you're a developer, hobbyist, or IT professional, being able to connect to your Raspberry Pi from anywhere can significantly enhance your productivity and flexibility. This guide will walk you through the process step by step, ensuring you have all the tools and knowledge needed to set up and use SSH effectively.
SSH (Secure Shell) is a cryptographic network protocol that enables secure communication between devices over an unsecured network. For Raspberry Pi users, SSH is a powerful tool that allows remote management and control of the device. This capability is particularly useful if your Raspberry Pi is located in a different geographical location or if you need to manage multiple devices simultaneously.
In this article, we will explore the setup process, troubleshooting tips, and best practices for using SSH with your Raspberry Pi. By the end of this guide, you'll be equipped with the skills to securely connect to your Raspberry Pi from any location, ensuring your projects remain accessible and manageable at all times.
Read also:Sean Evans Height Unveiling The Stature Of The Hot Ones Host
Table of Contents
- Introduction to SSH
- Enable SSH on Raspberry Pi
- Connecting Remotely via SSH
- Troubleshooting SSH Issues
- Advanced SSH Features
- SSH Security Best Practices
- Alternative SSH Clients
- Setting Up Port Forwarding
- Using SSH Tunnels
- Conclusion and Next Steps
Introduction to SSH
SSH (Secure Shell) is a network protocol designed to provide secure communication over unsecured networks. It is widely used for remote login and other secure network services. For Raspberry Pi users, SSH enables you to control and manage your device remotely, eliminating the need for a physical monitor, keyboard, and mouse.
One of the primary advantages of SSH is its ability to encrypt all data transmitted between your local machine and the Raspberry Pi, ensuring that sensitive information remains protected. This encryption makes SSH an ideal solution for managing devices over public networks or the internet.
Key Features of SSH:
- Secure and encrypted communication
- Support for file transfers using SFTP (SSH File Transfer Protocol)
- Compatibility with a wide range of operating systems
- Ability to execute commands remotely
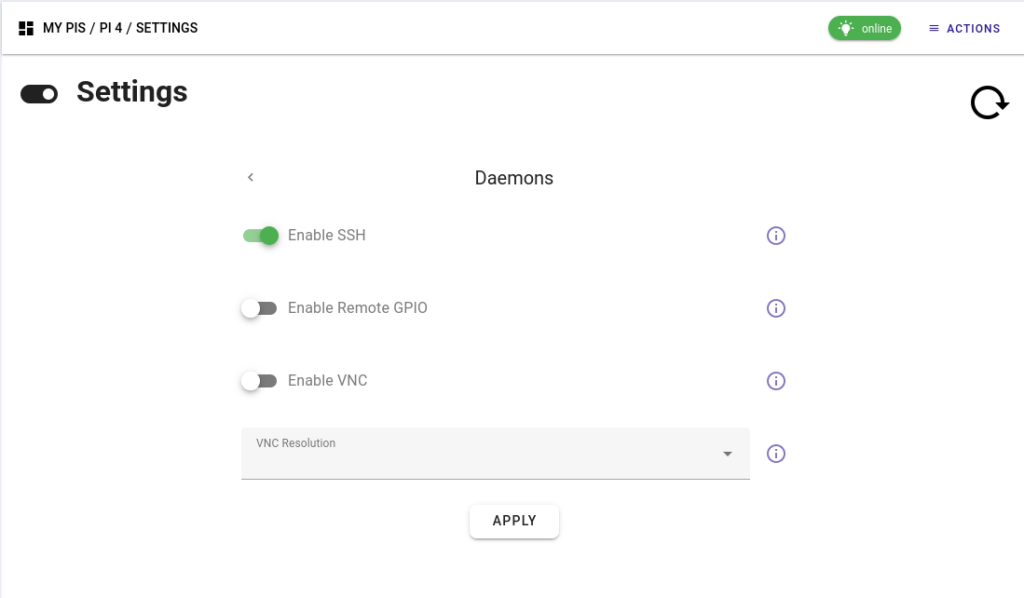
Enable SSH on Raspberry Pi
Step-by-Step Guide
Enabling SSH on your Raspberry Pi is a straightforward process. Follow these steps to ensure your device is ready for remote connections:
- Access the Raspberry Pi Configuration Tool: Open the terminal on your Raspberry Pi and type
sudo raspi-config. - Select the Interfacing Options: Navigate to the "Interfacing Options" menu and press Enter.
- Enable SSH: Choose the SSH option and enable it by selecting "Yes." The system will confirm that SSH has been enabled.
- Reboot the Raspberry Pi: To apply the changes, reboot your Raspberry Pi by typing
sudo reboot.
Alternatively, you can enable SSH by creating an empty file named "ssh" on the boot partition of your Raspberry Pi's SD card. This method is particularly useful if you're setting up a new Raspberry Pi without access to the graphical interface.
Connecting Remotely via SSH
Using PuTTY on Windows
For Windows users, PuTTY is one of the most popular SSH clients available. Here's how to connect to your Raspberry Pi using PuTTY:
Read also:What Is Lil Uzi Vert Net Worth A Comprehensive Guide To The Rappers Wealth
- Download PuTTY: Visit the official PuTTY website and download the application.
- Open PuTTY: Launch the PuTTY application and enter the IP address of your Raspberry Pi in the "Host Name" field.
- Connect: Click "Open" to initiate the connection. You will be prompted to log in with your Raspberry Pi's username and password.
Using Terminal on macOS/Linux
macOS and Linux users can connect to their Raspberry Pi directly through the terminal:
- Open Terminal: Launch the terminal application on your computer.
- Enter the SSH Command: Type
ssh pi@and press Enter. - Log In: Enter your Raspberry Pi's password when prompted.
Troubleshooting SSH Issues
While SSH is generally reliable, issues may arise during setup or connection. Here are some common problems and their solutions:
- Connection Refused: Ensure SSH is enabled on your Raspberry Pi and verify the IP address.
- Authentication Failure: Double-check your username and password. Ensure there are no typos.
- Timeout Errors: Check your network connection and ensure the Raspberry Pi is powered on.
If the issue persists, consider restarting your Raspberry Pi and verifying the SSH configuration settings.
Advanced SSH Features
SSH Key Authentication
SSH key authentication provides a more secure alternative to password-based authentication. By generating SSH keys, you can enhance the security of your Raspberry Pi while eliminating the need to enter passwords manually.
Steps to Set Up SSH Key Authentication:
- Generate SSH Keys: Use the
ssh-keygencommand to generate a public and private key pair. - Copy the Public Key: Transfer the public key to your Raspberry Pi using the
ssh-copy-idcommand. - Test the Connection: Attempt to log in to your Raspberry Pi without entering a password.
SSH Security Best Practices
Securing your SSH connection is crucial to protect your Raspberry Pi from unauthorized access. Follow these best practices to enhance the security of your SSH setup:
- Change the Default Port: Modify the SSH port number to a non-standard value to reduce the risk of automated attacks.
- Disable Root Login: Restrict direct root access to prevent potential security breaches.
- Use a Firewall: Configure a firewall to restrict SSH access to trusted IP addresses.
Alternative SSH Clients
While PuTTY and the terminal are popular SSH clients, several alternatives offer additional features and functionality:
- Bitvise: A feature-rich SSH client for Windows with support for SFTP and terminal emulation.
- Termius: A cross-platform SSH client available for iOS, Android, macOS, and Windows.
- MobaXterm: A comprehensive SSH client and X server for Windows, offering advanced features like session management and file transfer.
Setting Up Port Forwarding
To access your Raspberry Pi remotely over the internet, you need to configure port forwarding on your router. This process involves forwarding incoming SSH traffic to the internal IP address of your Raspberry Pi.
Steps to Set Up Port Forwarding:
- Access Your Router's Settings: Log in to your router's administration interface.
- Locate the Port Forwarding Section: Find the port forwarding settings and create a new rule.
- Specify the Forwarding Details: Enter the external port, internal IP address, and internal port for your Raspberry Pi.
Using SSH Tunnels
SSH tunnels allow you to securely forward traffic between your local machine and the Raspberry Pi. This feature is particularly useful for accessing services running on the Raspberry Pi, such as web servers or databases.
Creating an SSH Tunnel:
- Open Terminal: Launch the terminal on your local machine.
- Set Up the Tunnel: Use the
ssh -Lcommand to create the tunnel. For example:ssh -L 8080:localhost:80 pi@. - Access the Service: Connect to the forwarded port on your local machine (e.g., http://localhost:8080).
Conclusion and Next Steps
SSH Raspberry Pi remotely is a powerful capability that enhances the flexibility and accessibility of your projects. By following the steps outlined in this guide, you can securely connect to your Raspberry Pi from any location, ensuring your device remains under your control at all times.
Key Takeaways:
- Enable SSH on your Raspberry Pi using the configuration tool or by creating an "ssh" file.
- Use SSH clients like PuTTY or terminal to establish remote connections.
- Implement security best practices to protect your Raspberry Pi from unauthorized access.
We encourage you to explore advanced SSH features, such as key authentication and port forwarding, to further enhance your remote management capabilities. Don't forget to share this article with others who may benefit from it, and feel free to leave a comment below if you have any questions or feedback.