Raspberry Pi SSH tunnel proxy is a powerful solution for secure communication and data transfer across networks. As cybersecurity becomes increasingly important, understanding how to set up and use SSH tunnels on Raspberry Pi can provide you with the tools necessary to protect sensitive information. This guide will walk you through everything you need to know about SSH tunnels and proxies on Raspberry Pi, ensuring your network remains secure.
Setting up an SSH tunnel proxy on Raspberry Pi is not only beneficial for personal users but also for small businesses or hobbyists who want to enhance their privacy and security. Whether you're looking to bypass geo-restrictions, anonymize your browsing activity, or establish a secure connection to a remote server, Raspberry Pi provides a cost-effective and flexible platform.
This article is designed to be beginner-friendly while offering advanced insights for those with more experience in networking. By the end of this guide, you'll have a clear understanding of how Raspberry Pi SSH tunnel proxy works and how to implement it effectively.
Read also:Exploring Movierolz The Ultimate Guide To Movies Streaming And Entertainment
Table of Contents
- Introduction to SSH Tunnel Proxy
- Raspberry Pi Overview
- Benefits of Using Raspberry Pi SSH Tunnel Proxy
- Step-by-Step Guide to Set Up SSH Tunnel Proxy
- Configuring SSH on Raspberry Pi
- Connecting to a Remote Server via SSH Tunnel
- Using SSH Tunnel as a Proxy
- Securing Your SSH Tunnel Proxy
- Common Issues and Troubleshooting
- Conclusion and Next Steps
Introduction to SSH Tunnel Proxy
An SSH tunnel proxy is a method of creating a secure connection between two systems using the SSH (Secure Shell) protocol. This technique allows you to bypass firewalls, encrypt data, and access restricted services. The Raspberry Pi SSH tunnel proxy setup is particularly popular due to its affordability and versatility.
SSH tunnels act as a bridge for data transmission, ensuring that all information sent between devices is encrypted and secure. This is especially useful when connecting to public Wi-Fi networks or accessing sensitive data from remote locations.
How Does SSH Tunnel Proxy Work?
SSH tunnel proxy works by forwarding network traffic through an encrypted channel. This channel is established between the client (Raspberry Pi) and the server (remote machine). The data is encrypted before it leaves the client and decrypted upon arrival at the server, ensuring that no unauthorized parties can intercept or read the information.
Raspberry Pi Overview
Raspberry Pi is a small, single-board computer designed for educational purposes but widely adopted by hobbyists and professionals alike. Its compact size, low cost, and versatility make it an ideal platform for experimenting with networking solutions like SSH tunnel proxies.
Raspberry Pi supports various operating systems, including Raspbian, Ubuntu, and others. This flexibility allows users to configure their Raspberry Pi for specific tasks, such as setting up SSH tunnels or acting as a proxy server.
Why Use Raspberry Pi for SSH Tunnel Proxy?
- Cost-effective solution for networking projects
- Compact and energy-efficient hardware
- Wide community support and extensive documentation
- Compatible with multiple operating systems
Benefits of Using Raspberry Pi SSH Tunnel Proxy
Using Raspberry Pi as an SSH tunnel proxy offers numerous advantages, including:
Read also:Jesse Metcalfes Wife A Deep Dive Into His Personal Life And Relationship
Enhanced Security
SSH tunnels encrypt all data transmitted between devices, making it difficult for attackers to intercept or tamper with the information. This is especially important when accessing sensitive data or using public Wi-Fi networks.
Flexibility and Customization
Raspberry Pi allows users to customize their SSH tunnel setup according to their specific needs. Whether you're looking to bypass geo-restrictions or secure your browsing activity, Raspberry Pi provides the tools necessary to achieve your goals.
Energy Efficiency
Compared to traditional servers, Raspberry Pi consumes significantly less power, making it an environmentally friendly choice for long-term projects.
Step-by-Step Guide to Set Up SSH Tunnel Proxy
Setting up an SSH tunnel proxy on Raspberry Pi involves several steps. Follow this guide to ensure a successful configuration:
Step 1: Install and Configure SSH
Begin by enabling SSH on your Raspberry Pi. This can be done through the Raspberry Pi Configuration tool or by editing the SSH configuration file. Ensure that SSH is enabled and running before proceeding to the next step.
Step 2: Set Up a Remote Server
Choose a remote server that will act as the endpoint for your SSH tunnel. This server should have SSH enabled and be accessible from your Raspberry Pi.
Step 3: Create the SSH Tunnel
Use the following command to create an SSH tunnel:
ssh -D [port] -C -N -q -T [username]@[remote_server]
Replace [port] with the desired port number (e.g., 8080), [username] with your server username, and [remote_server] with the server's IP address or domain name.
Configuring SSH on Raspberry Pi
Configuring SSH on Raspberry Pi is a straightforward process. Follow these steps to enable and customize SSH:
Enable SSH
To enable SSH, open the Raspberry Pi Configuration tool and navigate to the "Interfaces" tab. Select "SSH" and choose "Enable." Alternatively, you can enable SSH by creating an empty file named "ssh" on the boot partition of your Raspberry Pi SD card.
Customize SSH Settings
Edit the SSH configuration file located at /etc/ssh/sshd_config to customize settings such as port number, authentication methods, and encryption algorithms. Restart the SSH service after making changes to apply the new configuration.
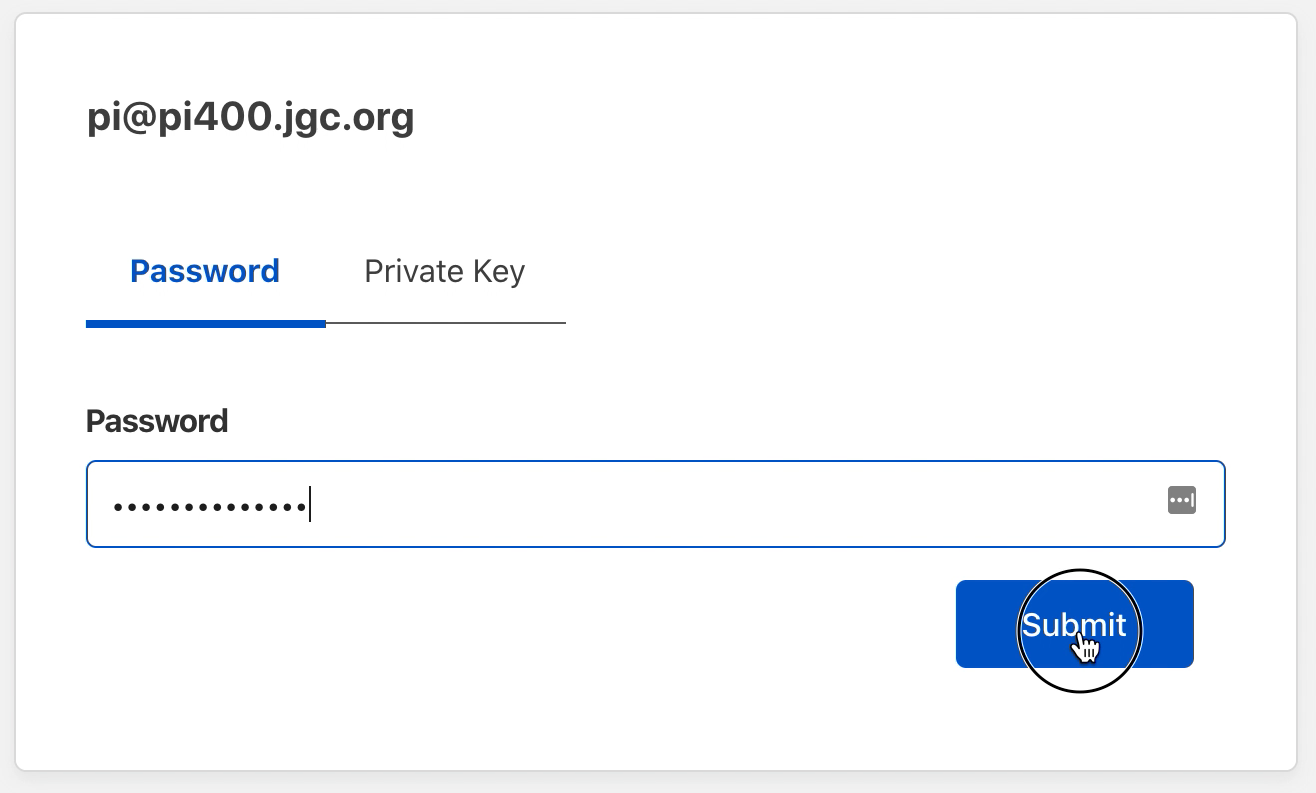
Connecting to a Remote Server via SSH Tunnel
Connecting to a remote server via SSH tunnel involves specifying the server's IP address or domain name, along with the appropriate port and authentication credentials. Use the following command to establish the connection:
ssh -L [local_port]:localhost:[remote_port] [username]@[remote_server]
Replace [local_port] and [remote_port] with the desired port numbers, [username] with your server username, and [remote_server] with the server's IP address or domain name.
Using SSH Tunnel as a Proxy
Once the SSH tunnel is established, you can configure your applications to use it as a proxy. This allows you to route all network traffic through the encrypted tunnel, enhancing your privacy and security.
Configure Browser Proxy Settings
Set your browser's proxy settings to use the SSH tunnel by specifying the local port number and selecting the "SOCKS" proxy type. This will ensure that all web traffic is routed through the encrypted tunnel.
Securing Your SSH Tunnel Proxy
Securing your SSH tunnel proxy is crucial to prevent unauthorized access and potential security breaches. Follow these best practices to enhance the security of your setup:
Use Strong Passwords
Ensure that all SSH accounts have strong, unique passwords. Consider enabling two-factor authentication for added security.
Limit Access
Restrict SSH access to specific IP addresses or subnets to reduce the risk of unauthorized connections.
Keep Software Updated
Regularly update your Raspberry Pi's operating system and SSH software to ensure that you have the latest security patches and features.
Common Issues and Troubleshooting
While setting up an SSH tunnel proxy on Raspberry Pi, you may encounter some common issues. Here are a few troubleshooting tips:
Connection Refused
If you receive a "Connection refused" error, ensure that SSH is enabled on both the Raspberry Pi and the remote server. Verify that the server's IP address or domain name is correct and that the specified port is open.
Authentication Failed
If authentication fails, double-check your username and password. Ensure that password authentication is enabled in the SSH configuration file and that your credentials are correct.
Conclusion and Next Steps
Raspberry Pi SSH tunnel proxy provides a powerful and flexible solution for secure communication and data transfer across networks. By following the steps outlined in this guide, you can successfully set up and configure an SSH tunnel proxy on your Raspberry Pi, enhancing your privacy and security.
We encourage you to explore further possibilities with Raspberry Pi, such as setting up a VPN server or experimenting with other networking solutions. Don't forget to share your experiences and insights in the comments section below. For more information on Raspberry Pi and SSH tunnels, refer to trusted sources such as the official Raspberry Pi documentation and the OpenSSH website.
Thank you for reading, and happy tinkering!