Setting up a Raspberry Pi SSH tunnel is one of the most effective ways to establish secure and encrypted communication between devices over the internet. Whether you're managing servers, accessing remote files, or securing your data, SSH tunneling offers a robust solution. In this article, we'll explore everything you need to know about Raspberry Pi SSH tunneling, including its benefits, setup process, and best practices.
Raspberry Pi has become a popular choice for developers and hobbyists alike due to its versatility and affordability. One of its key features is the ability to use SSH (Secure Shell) for remote access. By setting up an SSH tunnel, users can create a secure connection between their Raspberry Pi and other devices, ensuring that sensitive information remains protected.
This guide will walk you through the entire process of configuring an SSH tunnel on your Raspberry Pi. From understanding the basics of SSH to advanced configurations, you'll learn how to maximize the security and functionality of your Raspberry Pi setup. Let's dive in!
Read also:Todd Chrisley Knows Best The Unfiltered Life Of Reality Tv Star
Table of Contents
- Introduction to SSH Tunnel
- Raspberry Pi Overview
- Why Use SSH Tunnel?
- Setting Up SSH on Raspberry Pi
- Configuring SSH Tunnel
- Securing Your SSH Connection
- Common Issues and Troubleshooting
- Advanced SSH Features
- Best Practices for SSH Tunnel
- Conclusion and Next Steps
Introduction to SSH Tunnel
SSH tunneling is a powerful technique that allows users to create encrypted connections between two devices over the internet. It works by forwarding specific network ports through an SSH connection, ensuring that all data transmitted between the devices remains secure. For Raspberry Pi users, SSH tunneling can be particularly useful for remote access, file transfer, and secure communication.
One of the primary benefits of SSH tunneling is its ability to bypass firewalls and network restrictions. By encapsulating traffic within an SSH connection, users can access blocked services or resources while maintaining a high level of security. This makes SSH tunneling an essential tool for anyone working with Raspberry Pi in a remote or restricted environment.
Raspberry Pi Overview
Raspberry Pi is a series of small single-board computers developed by the Raspberry Pi Foundation. These devices are designed to be affordable and accessible, making them ideal for educational purposes, home automation, and hobbyist projects. One of the standout features of Raspberry Pi is its support for SSH, which enables users to manage their devices remotely.
With SSH, users can connect to their Raspberry Pi from any location with internet access. This is particularly useful for tasks such as monitoring system performance, managing files, and running scripts. By setting up an SSH tunnel, users can further enhance the security of their connections, ensuring that sensitive data remains protected from unauthorized access.
Why Use SSH Tunnel?
There are several reasons why users might choose to set up an SSH tunnel on their Raspberry Pi. Firstly, SSH tunneling provides a secure and encrypted connection between devices, protecting sensitive data from interception by malicious actors. Secondly, it allows users to bypass network restrictions and access blocked services or resources.
Additionally, SSH tunneling can be used for tasks such as remote desktop access, file transfer, and secure browsing. By forwarding specific ports through an SSH connection, users can ensure that all traffic between their Raspberry Pi and other devices remains secure and private. This makes SSH tunneling an invaluable tool for anyone working with sensitive information or in restricted environments.
Read also:Bianca Censori Implants Everything You Need To Know
Setting Up SSH on Raspberry Pi
Before configuring an SSH tunnel, you'll need to ensure that SSH is enabled on your Raspberry Pi. This can be done by following these steps:
- Connect your Raspberry Pi to a monitor, keyboard, and mouse.
- Power on your Raspberry Pi and log in to the operating system.
- Open the terminal and type the following command to enable SSH:
sudo raspi-config
- Select "Interfacing Options" and navigate to "SSH".
- Choose "Yes" to enable SSH and then exit the configuration tool.
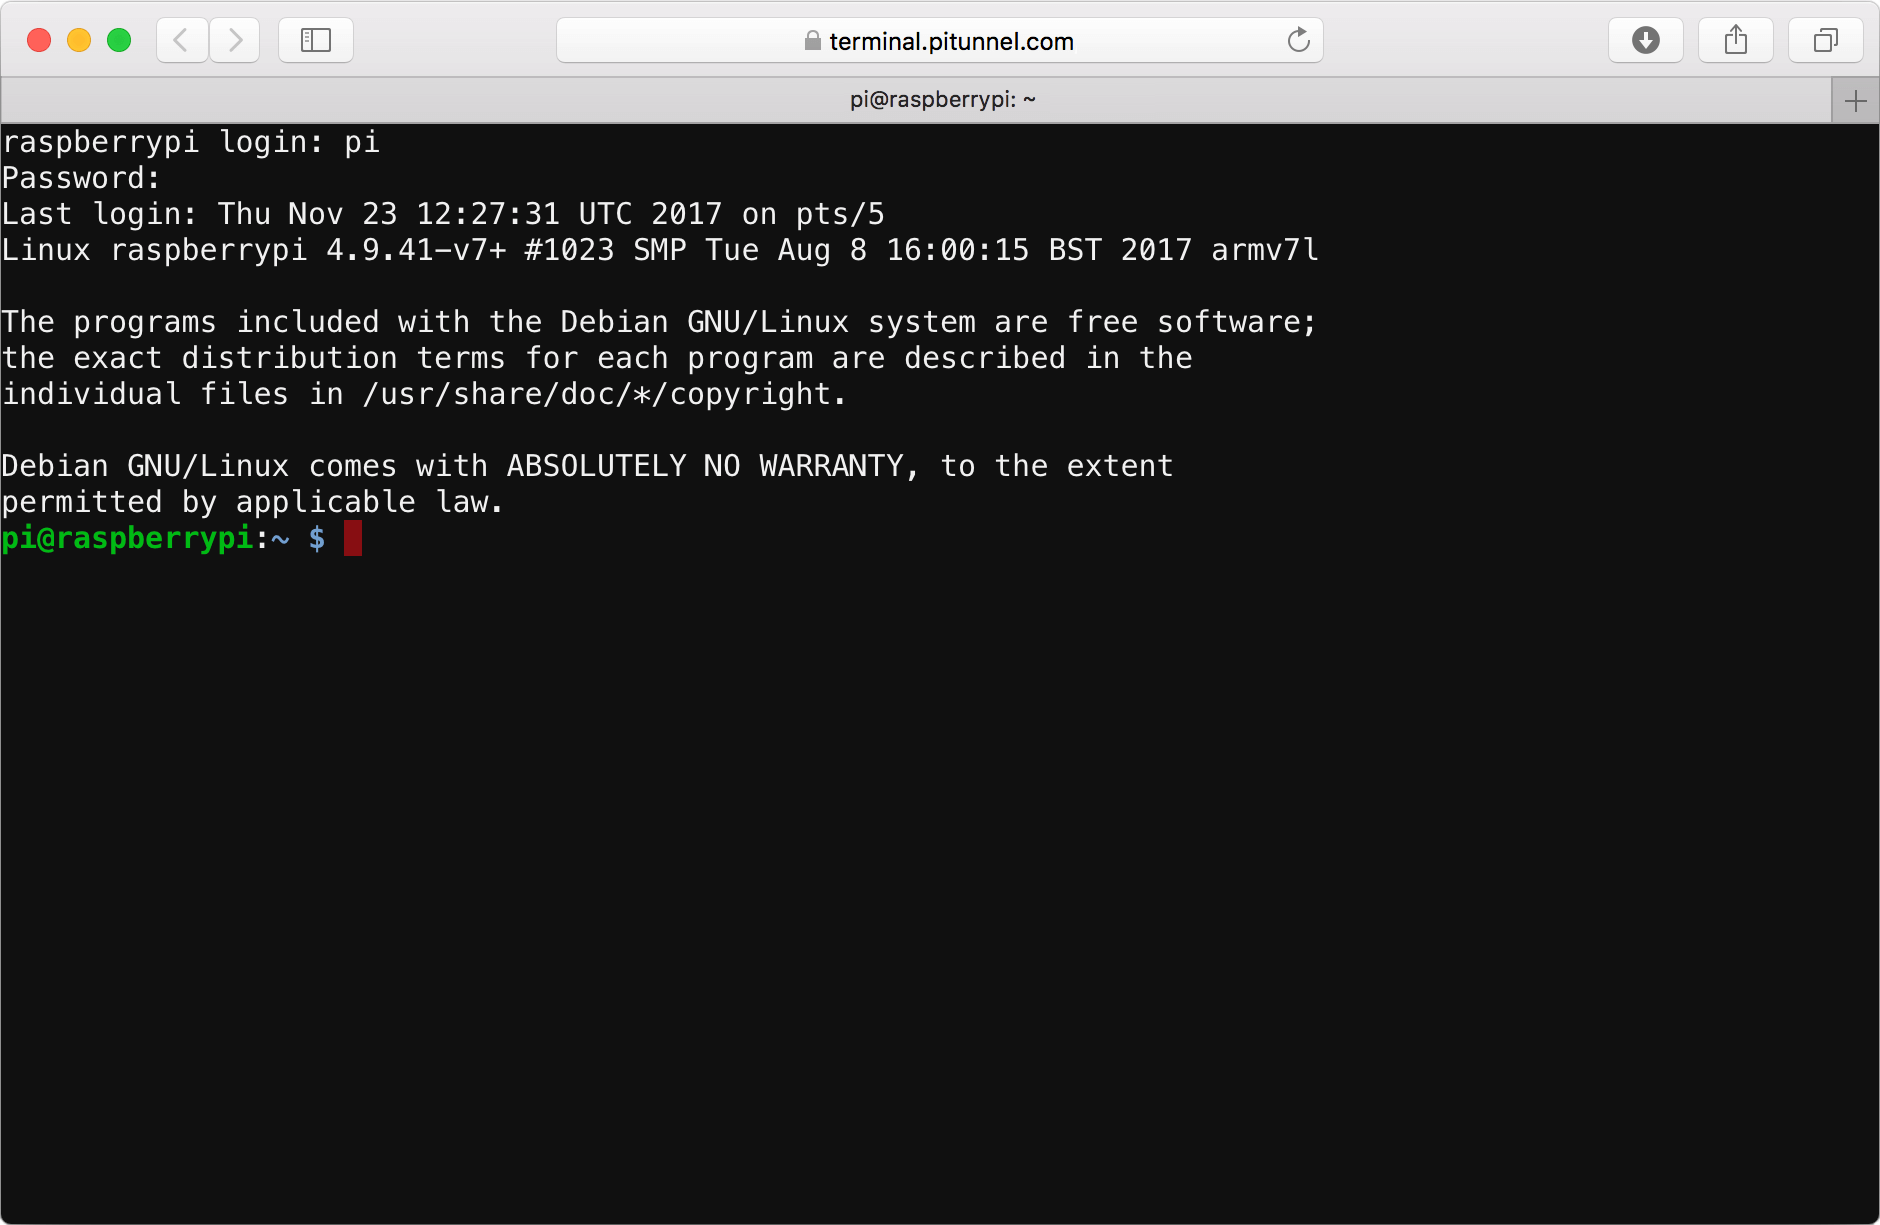
Once SSH is enabled, you can connect to your Raspberry Pi from another device using an SSH client. This will allow you to manage your Raspberry Pi remotely and set up an SSH tunnel for secure communication.
Configuring SSH Tunnel
With SSH enabled on your Raspberry Pi, you can now proceed to configure an SSH tunnel. This involves forwarding specific network ports through the SSH connection to ensure secure communication. Below are two common methods for configuring SSH tunnels:
Forwarding Ports
Port forwarding allows you to forward specific ports from your local machine to the Raspberry Pi through an SSH connection. This can be done using the following command:
ssh -L [local_port]:[remote_host]:[remote_port] [username]@[raspberry_pi_ip]
For example, to forward port 8080 from your local machine to port 80 on the Raspberry Pi, you would use the following command:
ssh -L 8080:localhost:80 pi@[raspberry_pi_ip]
Dynamic Port Forwarding
Dynamic port forwarding allows you to use an SSH connection as a SOCKS proxy, enabling secure browsing and access to blocked websites. This can be done using the following command:
ssh -D [local_port] [username]@[raspberry_pi_ip]
For example, to set up a SOCKS proxy on port 1080, you would use the following command:
ssh -D 1080 pi@[raspberry_pi_ip]
Securing Your SSH Connection
While SSH provides a secure connection by default, there are additional steps you can take to further enhance the security of your Raspberry Pi SSH tunnel. These include:
- Using strong passwords or SSH keys for authentication.
- Disabling root login to prevent unauthorized access.
- Changing the default SSH port to make it harder for attackers to find.
- Using a firewall to restrict access to your Raspberry Pi.
By implementing these security measures, you can ensure that your SSH connection remains protected from unauthorized access and potential threats.
Common Issues and Troubleshooting
Despite its robustness, SSH tunneling can sometimes encounter issues. Below are some common problems and their solutions:
- Connection Refused: Ensure that SSH is enabled on your Raspberry Pi and that the correct IP address and port are being used.
- Permission Denied: Verify that the correct username and password are being used for authentication.
- Timeout Errors: Check your internet connection and ensure that there are no firewalls blocking the SSH connection.
If you continue to experience issues, consult the official Raspberry Pi documentation or seek assistance from online forums and communities.
Advanced SSH Features
For users looking to take their SSH tunneling skills to the next level, there are several advanced features available:
Using SSH Keys
SSH keys provide a more secure and convenient method of authentication compared to traditional passwords. To generate an SSH key pair, you can use the following command:
ssh-keygen -t rsa -b 4096
Once the key pair is generated, you can copy the public key to your Raspberry Pi using the following command:
ssh-copy-id [username]@[raspberry_pi_ip]
Configuring Firewall
A firewall can be used to restrict access to your Raspberry Pi and protect it from unauthorized access. To configure a firewall on your Raspberry Pi, you can use the UFW (Uncomplicated Firewall) tool. This can be installed using the following command:
sudo apt install ufw
Once installed, you can allow SSH traffic and enable the firewall using the following commands:
sudo ufw allow ssh
sudo ufw enable
Best Practices for SSH Tunnel
To ensure the best possible experience with your Raspberry Pi SSH tunnel, consider following these best practices:
- Regularly update your Raspberry Pi's operating system and software to protect against vulnerabilities.
- Use strong, unique passwords or SSH keys for authentication.
- Limit access to your Raspberry Pi by restricting SSH connections to trusted IP addresses.
- Monitor your SSH logs for suspicious activity and take appropriate action if necessary.
By adhering to these best practices, you can ensure that your SSH tunnel remains secure and reliable for all your remote access needs.
Conclusion and Next Steps
In conclusion, setting up an SSH tunnel on your Raspberry Pi is a straightforward and effective way to establish secure and encrypted communication between devices. By following the steps outlined in this guide, you can configure an SSH tunnel that meets your specific needs and enhances the security of your Raspberry Pi setup.
For further reading, consider exploring advanced topics such as SSH tunneling for specific applications, optimizing SSH performance, and troubleshooting common issues. Additionally, don't forget to share your experiences and insights with the Raspberry Pi community, as this can help others learn and grow in their own projects.
We encourage you to leave a comment or question below if you have any thoughts or need further clarification. And remember, always stay updated with the latest security practices to keep your Raspberry Pi SSH tunnel secure and efficient!